
This post may contain affiliate links. As an Amazon Influencer, I earn from qualifying purchases.
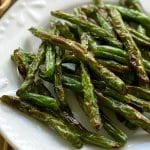
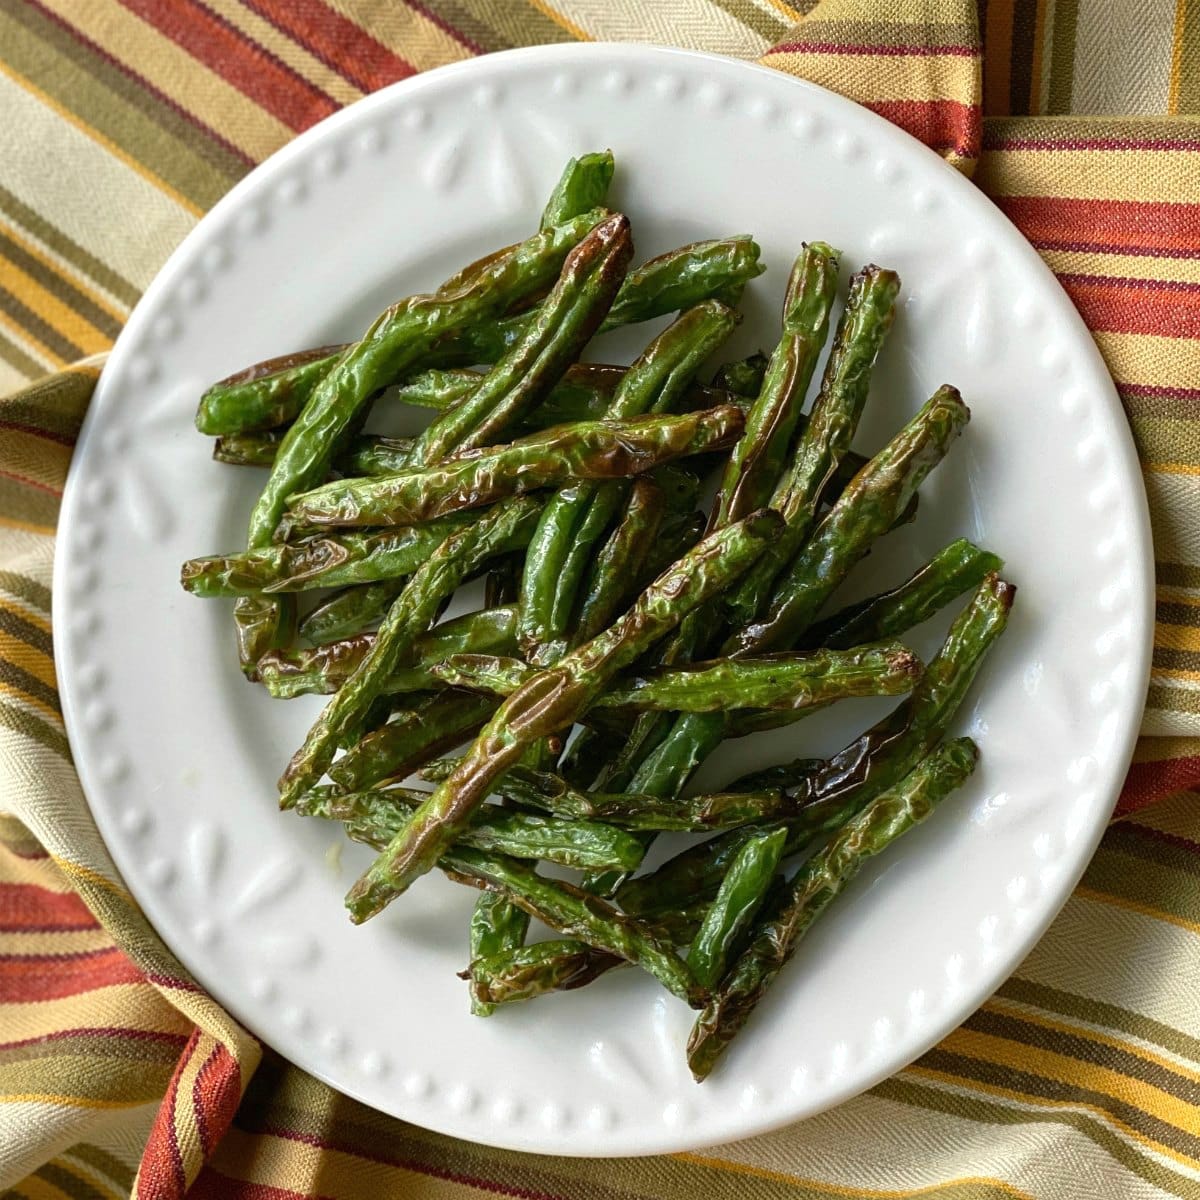
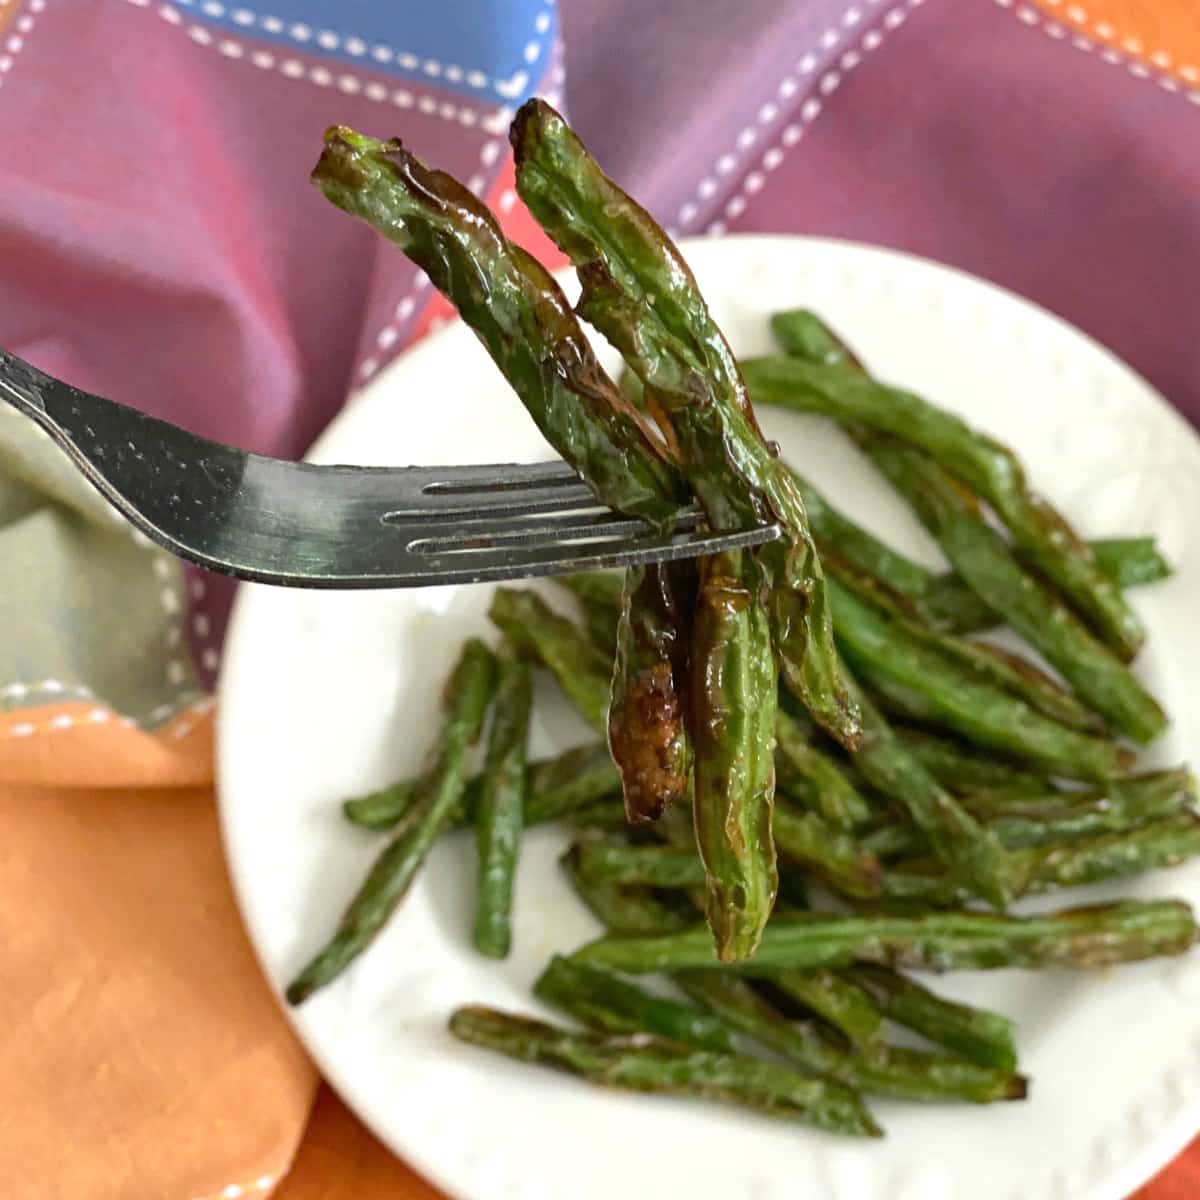
I triple dare you not to fall in love with Crispy Roasted Green Beans! After they cook in an air fryer (or oven) and caramelize, they're crinkly and almost melt in your mouth!
Want to save this recipe?
I know what you're thinking...that last part can't possibly be true. But, they are IF you follow a little trick I discovered!
Crispy green beans check off all the healthy green recipe boxes: delicious, easy to make, healthy low-cal, low-carb, keto, gluten-free...you name it. I'm pretty sure they're perfect for any diet and a fantastic side dish for any dinner.
Ever since we hopped on the air fryer train, it's our favorite way to prepare this vegetable. Sometimes we coat them with cheese and call them Green Bean "Fries." And, they're easily dressed up with tomatoes or bacon when you're ready to impress.
Are you wondering why you don't see a great big pile of green beans on the plate? They're gone! But, I was too excited not to post this right away. So, I'm sharing my portion with you!
Green bean prep
Rinse and dry the green beans. Next, snap off the ends or trim them off with a knife or kitchen shears.
It's rare these days to find ones with strings. But, if that's the type you have, remove them!
Most important tips
Practice makes perfect! Once you roast green beans a few times, you'll fine-tune the timing and process. Here are some lessons we've learned, and the biggest tip is #1:
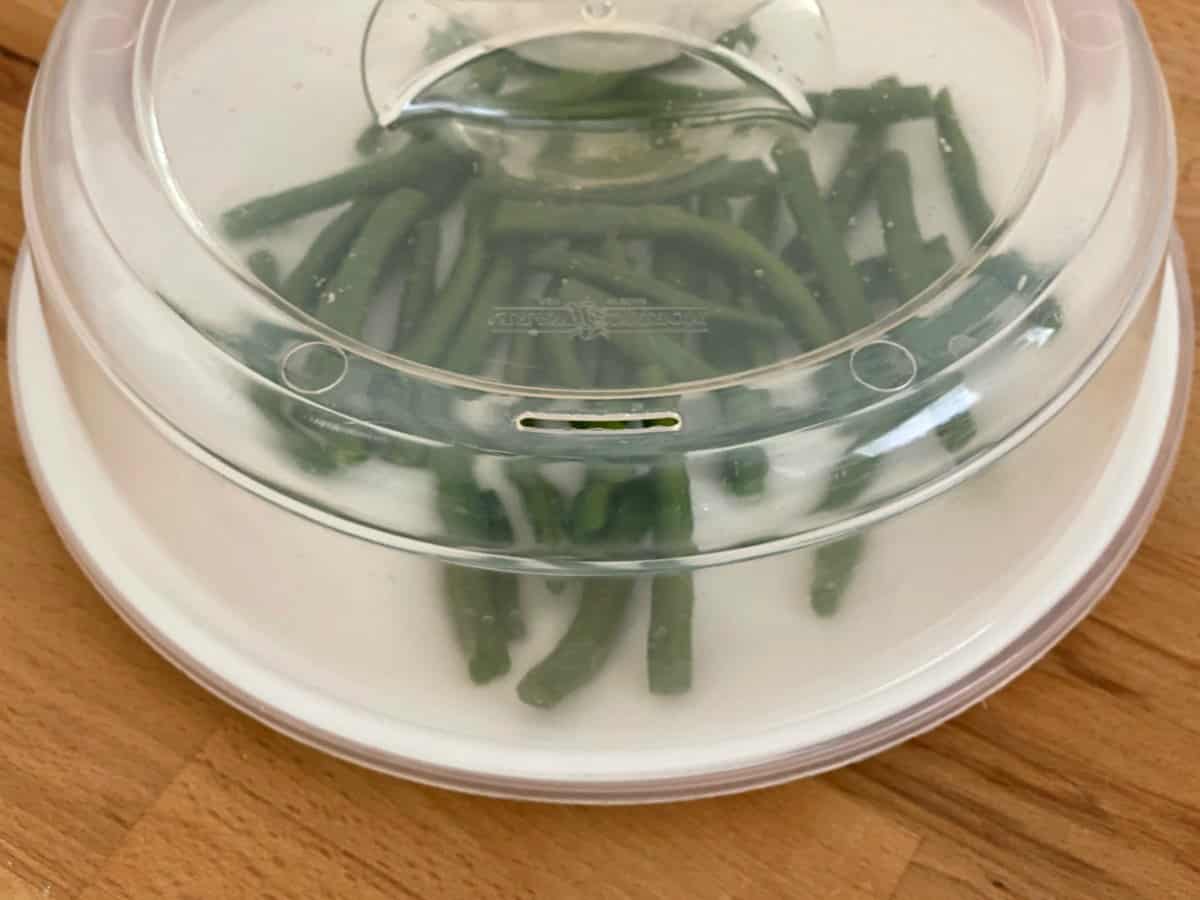
- Cook green beans for a couple of minutes to soften them before roasting. This step falls just short of blanching because the beans are not submerged in ice water. They should be firm but have just a little give when you're done. This step makes a BIG difference in how they turn out. And, it's the reason I absolutely love green beans now. Here's how to do it:
- Microwave - place prepared green beans on a microwave-safe plate. Add 2 Tablespoons of water, cover and cook on high for 2-3 minutes. This is my preferred method because it's fast and I'm not left with a pot to clean. Check out my set-up in the picture below. Normally, the plate has more beans on it.
- Boil - another option is to bring about 3 quarts of water to a boil (for 16 ounces of green beans) and cook for about 3 minutes.
- Completely coat each green bean with olive oil. Don't be stingy. Any excess oil will drop to the bottom of the air fryer or be left on the pan. Use a spritzer or drizzle and toss until each bean is oiled.
- Toss midway through the cooking time. Green beans will get brown spots in the places that spend a few minutes against a hot surface. It's very easy to give them a shake in an air fryer. But, flip them around with a spatula when using the oven method too.
- For the oven method, preheat the baking sheet too. If you take this step, you'll have a head start with the browning process.
Air fryer notes
Make air fryer green beans if you have this appliance.
- It's best to preheat the air fryer for 3 minutes at 390°F. This will jump-start the cooking process. If you don't take this step, then add a few minutes to the total cook time.
- We have a Ninja 4 Quart Air Fryer which can handle about 1 pound of green beans at a time. If you're making a larger quantity, then roast in batches, use the oven method or buy a bigger air fryer!
- Most likely, the green beans will overlap or pile on top of each other. That's okay as long as you shake the basket periodically so that all the beans have a chance to touch the crisper plate for a minute or two. For better uniformity, cook them in a single layer, which may mean you need to cook them in batches.
One of my favorite things about an air fryer is that it's EASY to check in on the cooking progress. So, do it! Pause, pull out the basket and lift out a green bean fry and see if it's ready!
Note: Always follow the manufacturer's instructions for your appliance if our advice is different.
Make ahead notes
Crispy roasted green beans should be served straight out of the air fryer or oven. However, green beans can be trimmed, blanched (dunk them in cold water to stop the cooking) and oiled a day ahead of time so they are ready to go when you're ready to devour them! Check out How to Blanch Green Beans by Culinary Hill for more guidance on this process.
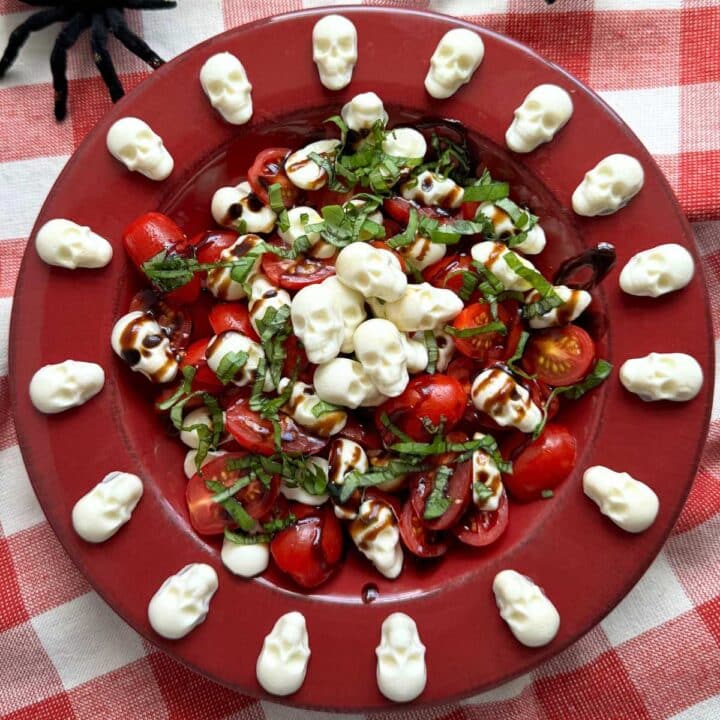
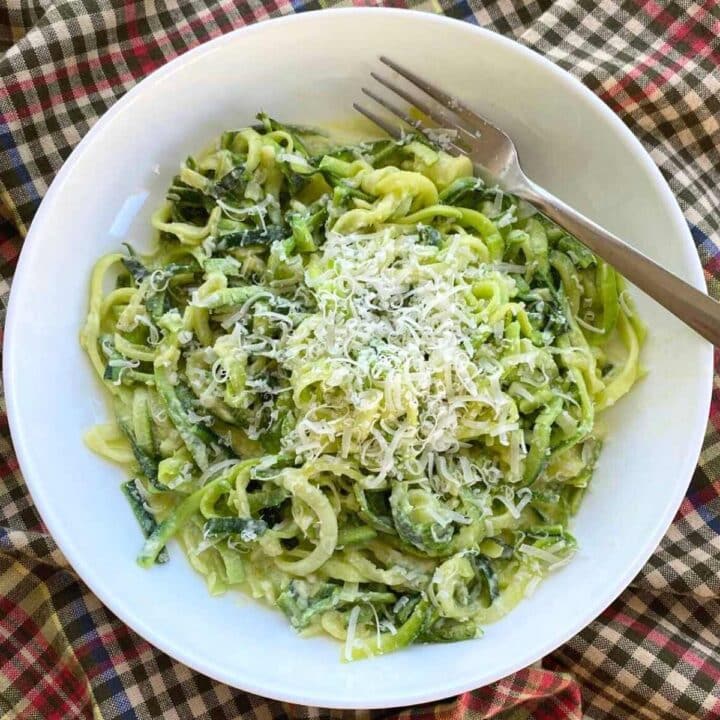
More Vegetable Side Dishes

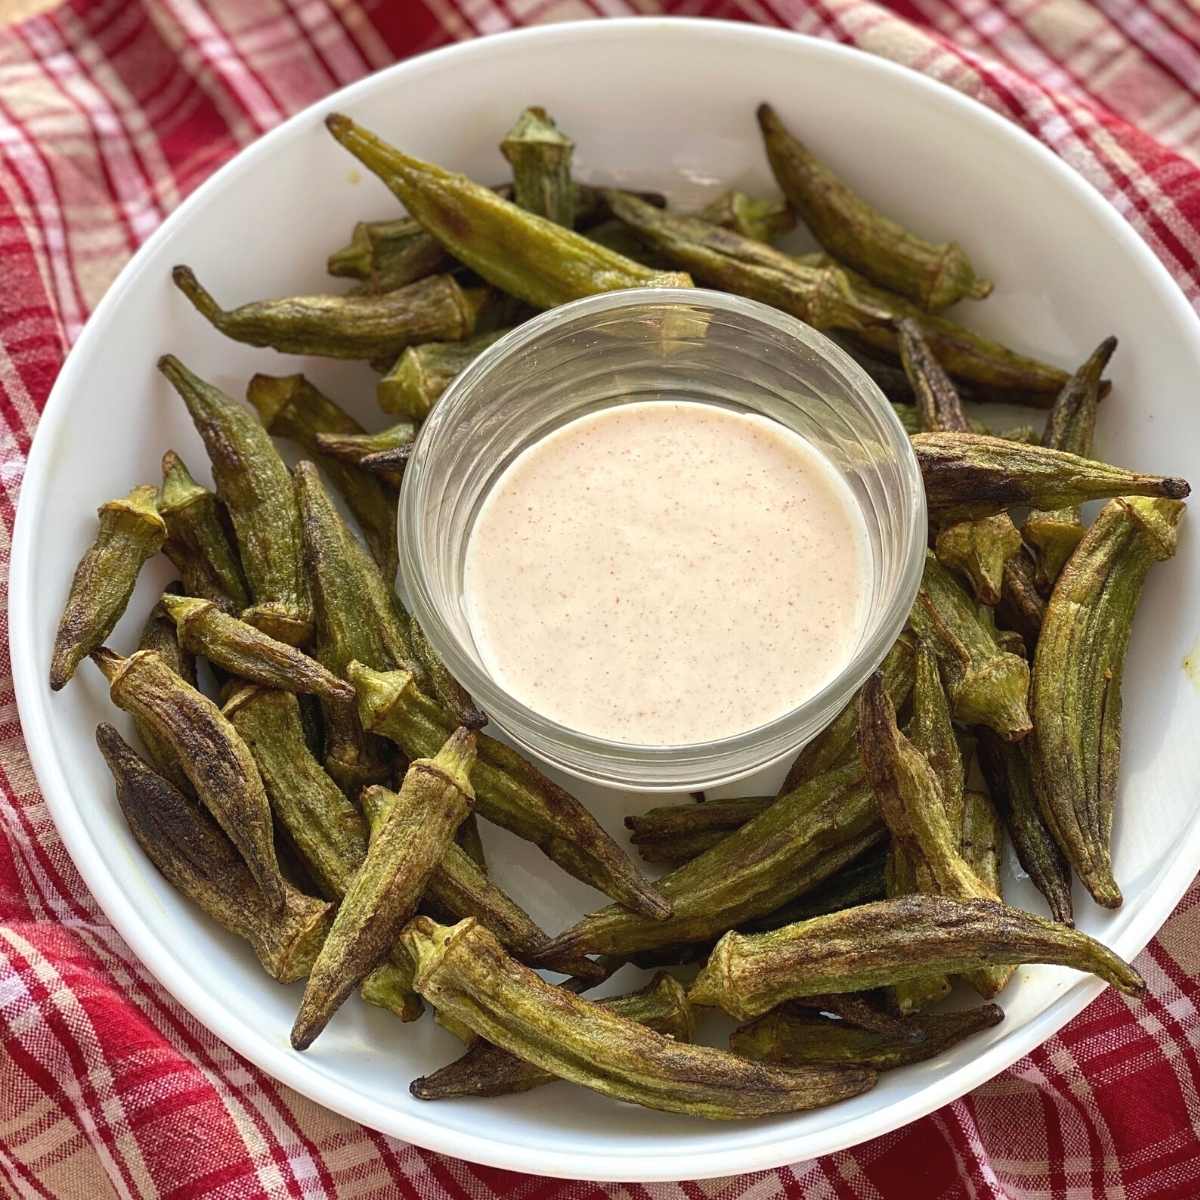
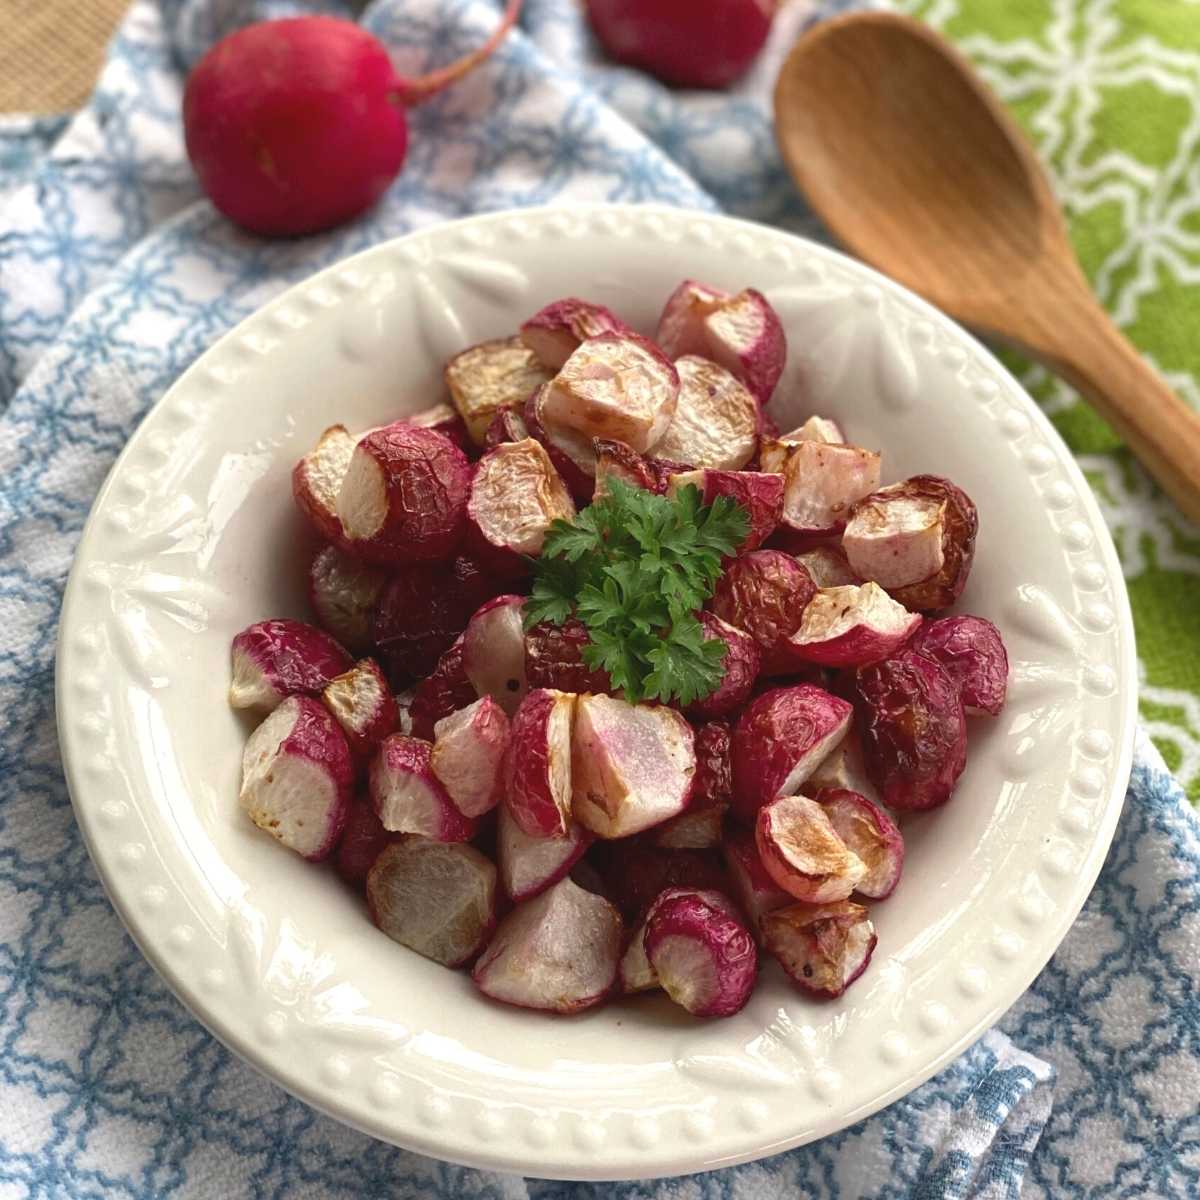
Would you like more easy, healthy, carb-conscious recipes?
📋 Recipe

Crispy Roasted Green Beans {Air Fryer or Oven}
Equipment
Ingredients
- 16 ounces green beans ends trimmed
- 1 Tablespoon olive oil
- salt and pepper to taste
Instructions
Preparation - either cooking method
- Place green beans on a microwave-safe plate with 2 Tablespoons water, cover and microwave for about 2 minutes to slightly soften green beans.
- Pour off excess water and pat dry. The green beans will be hot. Using tongs, toss them with olive oil and season with salt and pepper.
Air Fryer Instructions
- Preheat air fryer to 390 °F for 3 minutes.
- Cook for about 7 minutes shaking the air fryer basket halfway through.
Oven Instructions
- Preheat oven to 450 °F. For best results, preheat the baking sheet too.
- Place green bean fries in a single layer on the baking sheet. Cook for about 10 minutes, tossing halfway through.
Notes
- It's best to preheat the air fryer for 3 minutes at 390°F. This will jump start the cooking process. If you don't take this step, then add a few minutes to the total cook time.
- We have a Ninja 4 Quart Air Fryer which is perfect for 1 lb. of green beans. If you're making a larger quantity, then roast in batches, use the oven method or buy a bigger air fryer!
- Most likely, the green beans will overlap or pile on top of each other. That's okay as long as you shake the basket periodically so that all the beans have a chance to touch the crisper plate for a minute or two. For better uniformity, cook them in a single layer, which may mean you need to cook them in batches.
- If using French green beans, then it may take less cook time.
- Beans can be trimmed and blanched a day ahead of time, but should be roasted just before serving for best results.
Nutrition
Want to save this recipe?


Jodi says
These taste good, but it was really hard to get them crispy. I cooked them an extra 12 minutes and they still weren't crispy. But, like I said, they did taste good.
Marjory Pilley says
I'm so glad you still enjoyed them. Did you soften them in the microwave first? I find that's the key for them to really crisp up quickly.
Gma Etown says
Could you use FROZEN whole green beans and omit the pre-cook in the microwave?
Marjory Pilley says
Yes! It should work!
Merry Lee Lander says
You lost me "microwave". This will kill ALL the nutrients in these nutrient packed food.
Noelle says
I made these in my air fryer! I love the way they turned out, the air fryer is a game changer, everything just tastes better 🙂
Marjory Pilley says
Thanks so much for coming back to comment. I couldn't agree more...love my air fryer! 🙂