

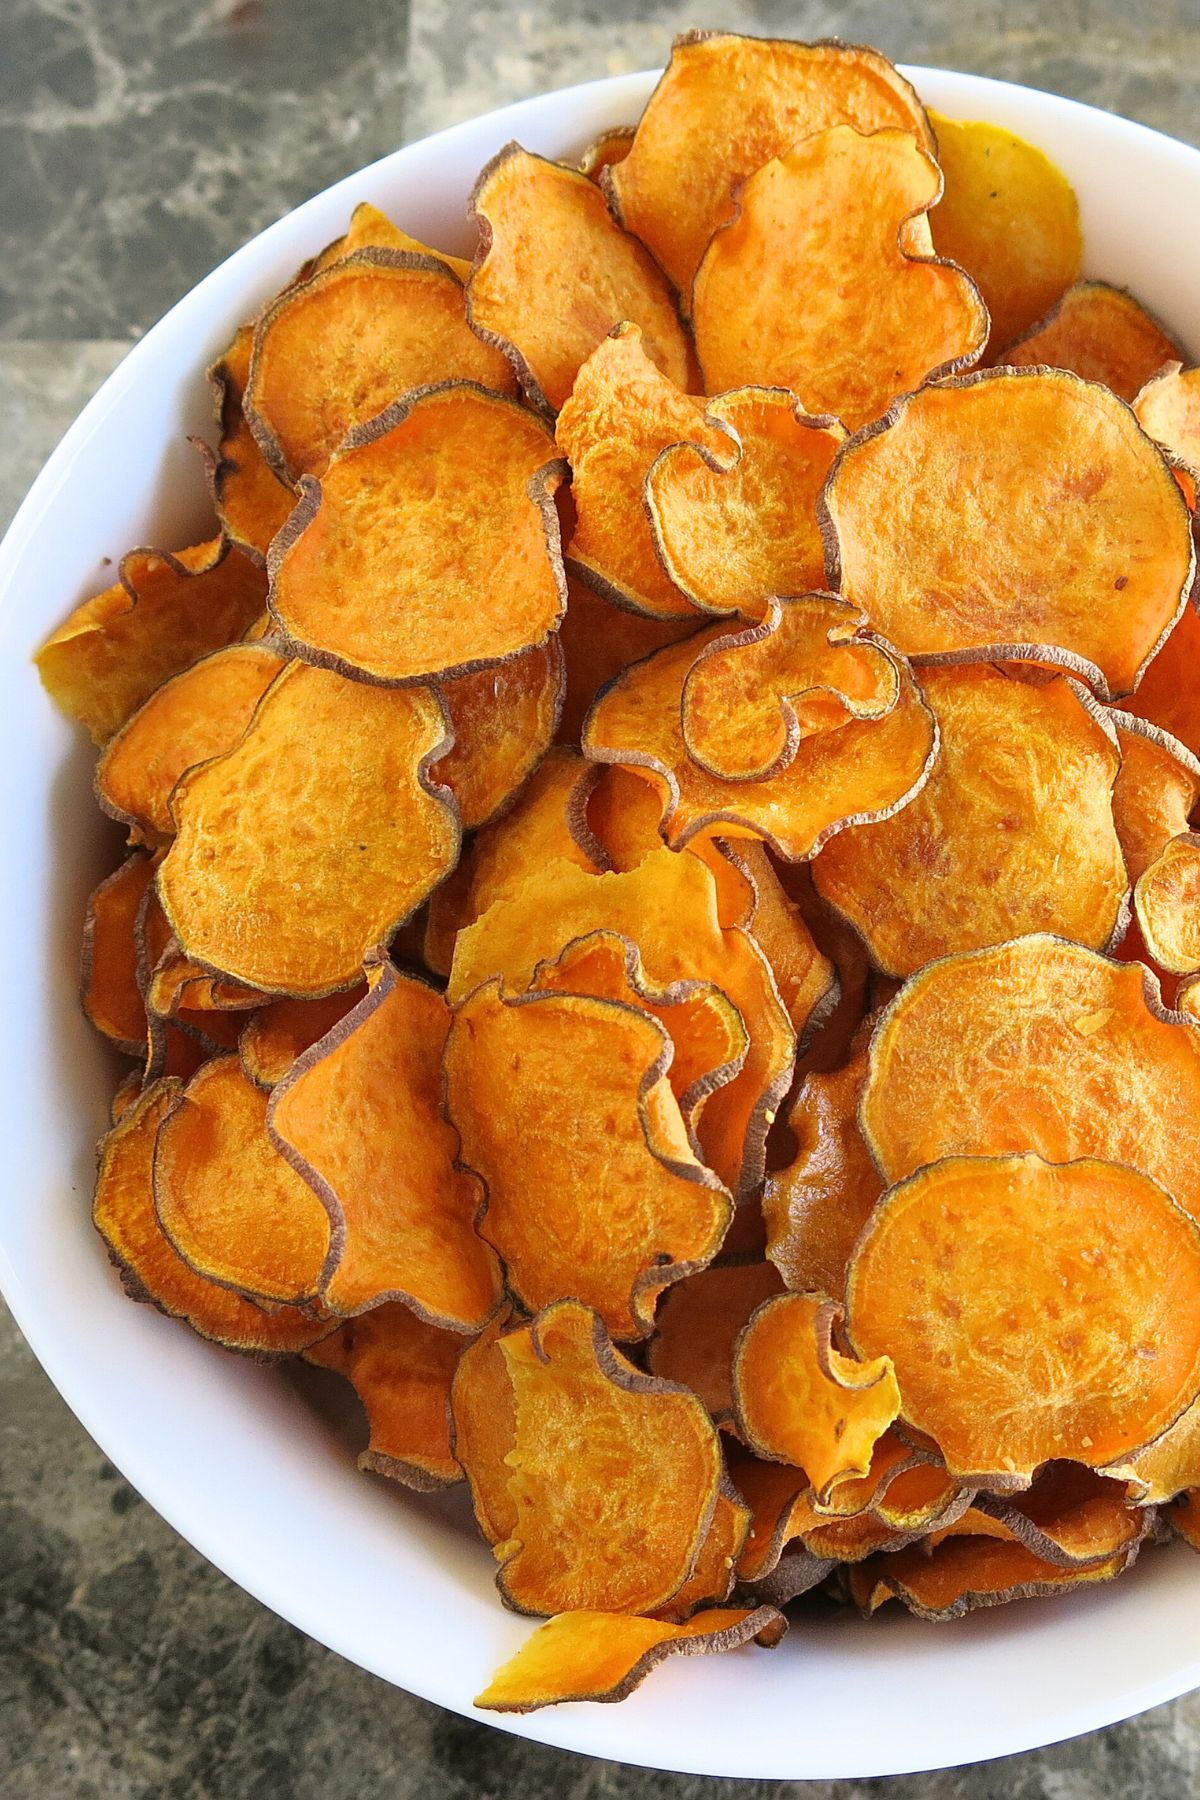
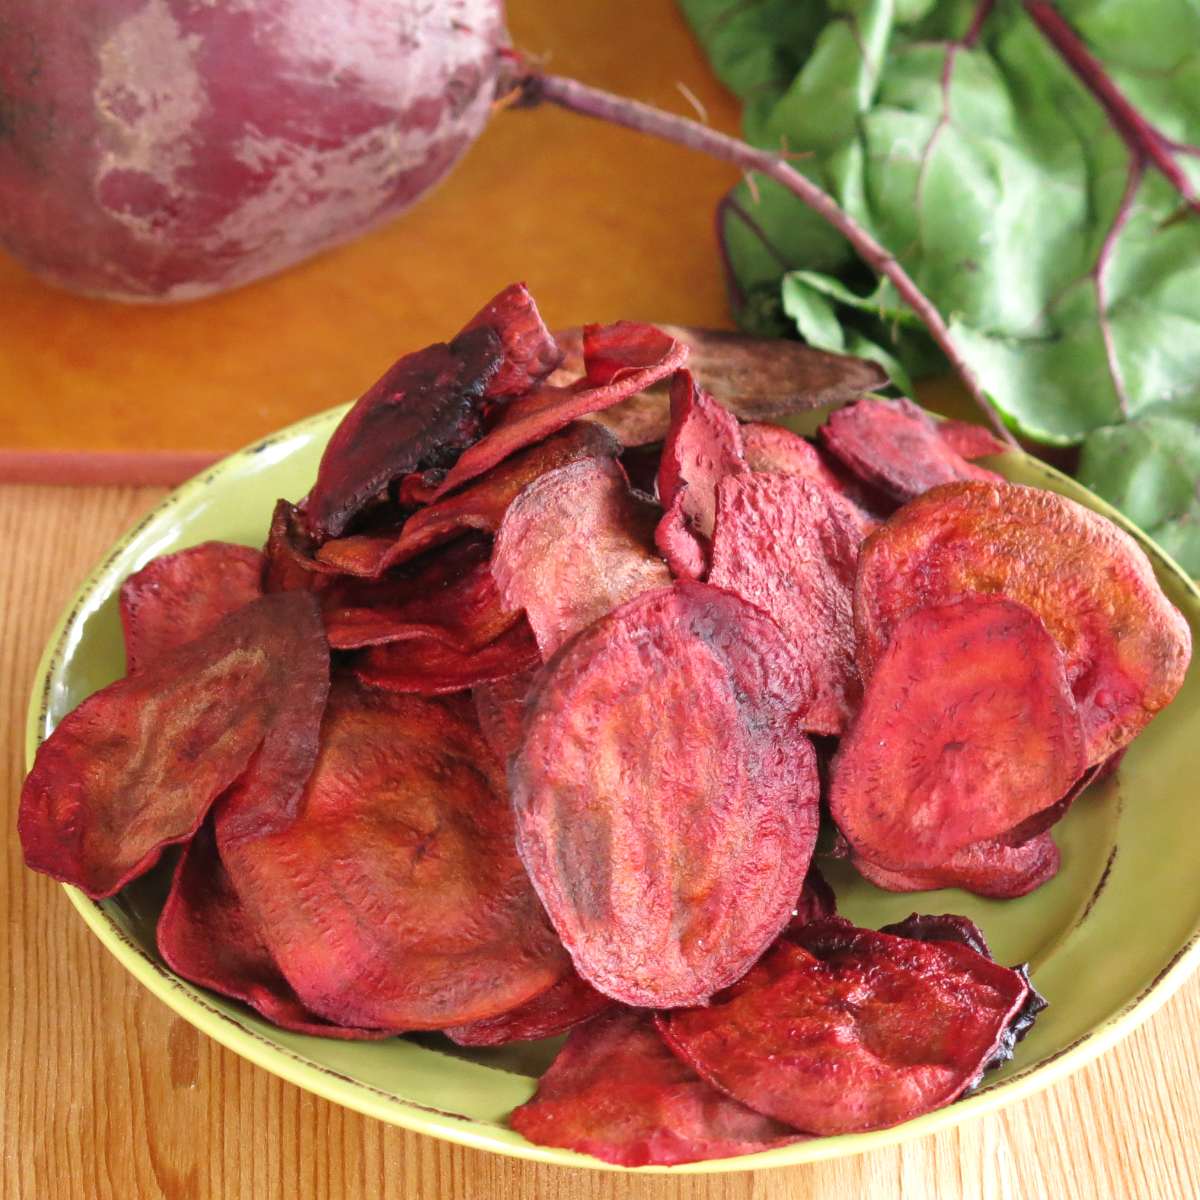
Make crispy baked sweet potato chips in your oven using our easy-to-follow recipe and tips so you can put this healthy snack on repeat.

There is something irresistible about a vegetable crisped up like a chip; at least, my girls think so. We can eat sweet potato chips all day long!
So, after I purchased a mandoline slicer and saw how simple it was to make this tasty snack, I officially entered the homemade chip business. They're a perfect substitute for potato chips with dip or as a side dish with lunch.
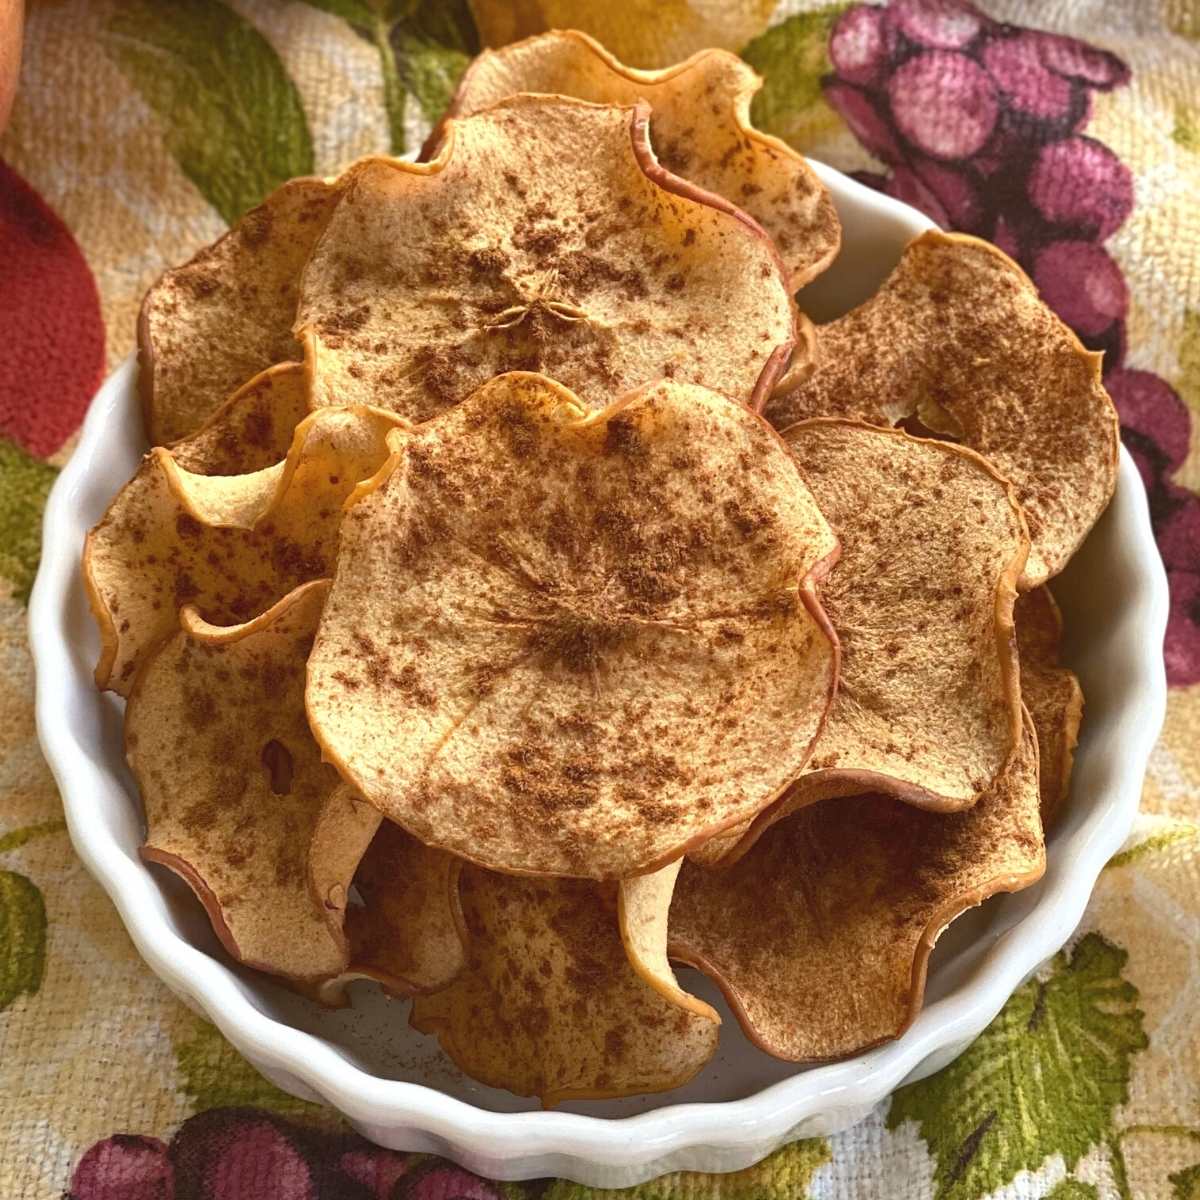
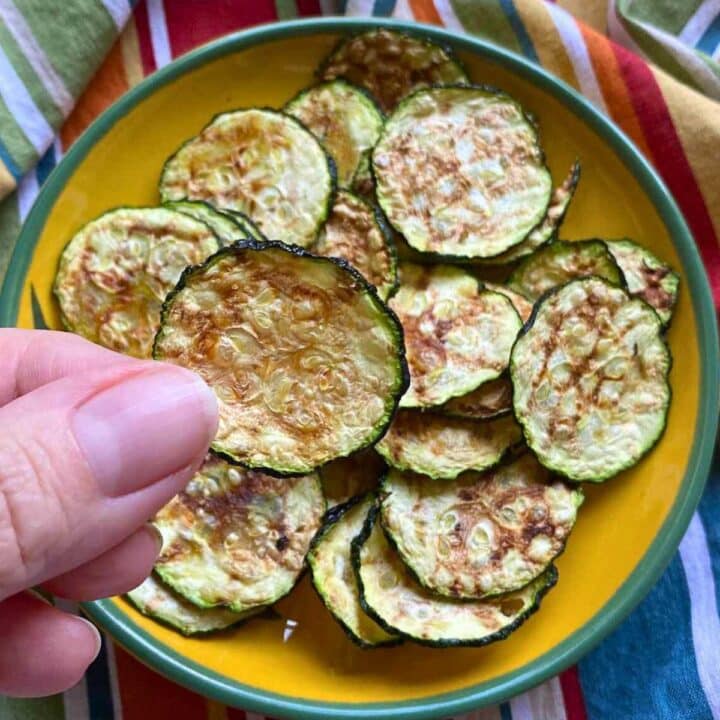
Now, it's just part of the routine. Oven-dried apple chips, beet chips, you name it. It all depends on what's in season! We find the best way to cook them is in the oven because you can make LOTS of them all at once. Although we do make microwave zucchini chips in a pinch.
The process is simple, but it does take a little trial and error to get perfectly crispy sweet potato chips. So I'm sharing all the tips and tricks I've learned along the way, which will shorten your learning curve if you're new.
Here's why you'll love this recipe too:
- It's an easy 3-ingredient recipe.
- Homemade sweet potato chips are fresh so they taste better and don't have any preservatives. You can control the amount of salt, too.
- They're easy to customize with different seasonings.
Jump to:
Ingredient Notes
Here's what you'll need to make sweet potato chips:
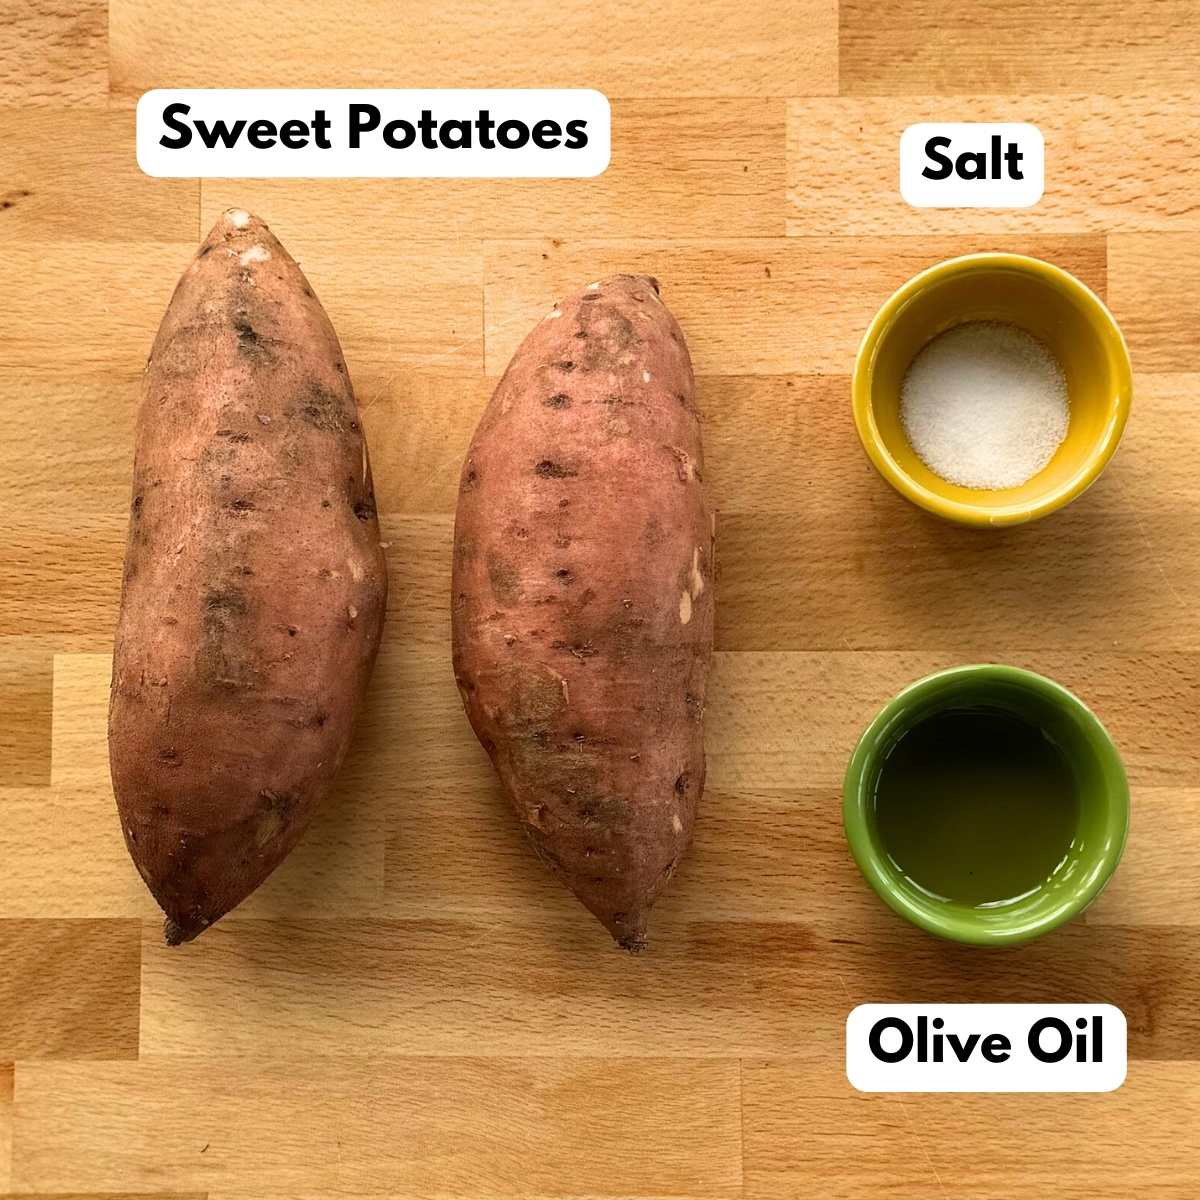
- Sweet potatoes - Choose long uniformly shaped ones if you can so you don't end up with tiny chips from the ends.
- Olive oil brings out the sweet flavor of the sweet potatoes and draws in the salt. Avocado oil can be used if desired.
- Salt becomes concentrated as the slices cook and shrink so use a light touch.
Note: You can get creative with the seasonings. We kept it simple. But garlic powder, garlic salt, chili lime seasoning, and cinnamon are also delicious.
The recipe card below includes ingredient amounts, step-by-step instructions, and nutritional information.
Directions with Pictures
Follow the steps below to make the best oven-baked sweet potato chips.
Oven setup: Place the wire oven racks in the middle two levels, next to each other. Since you'll need two baking sheets, this setup will allow you to stagger one on the left side of the stove and the other on the right side.
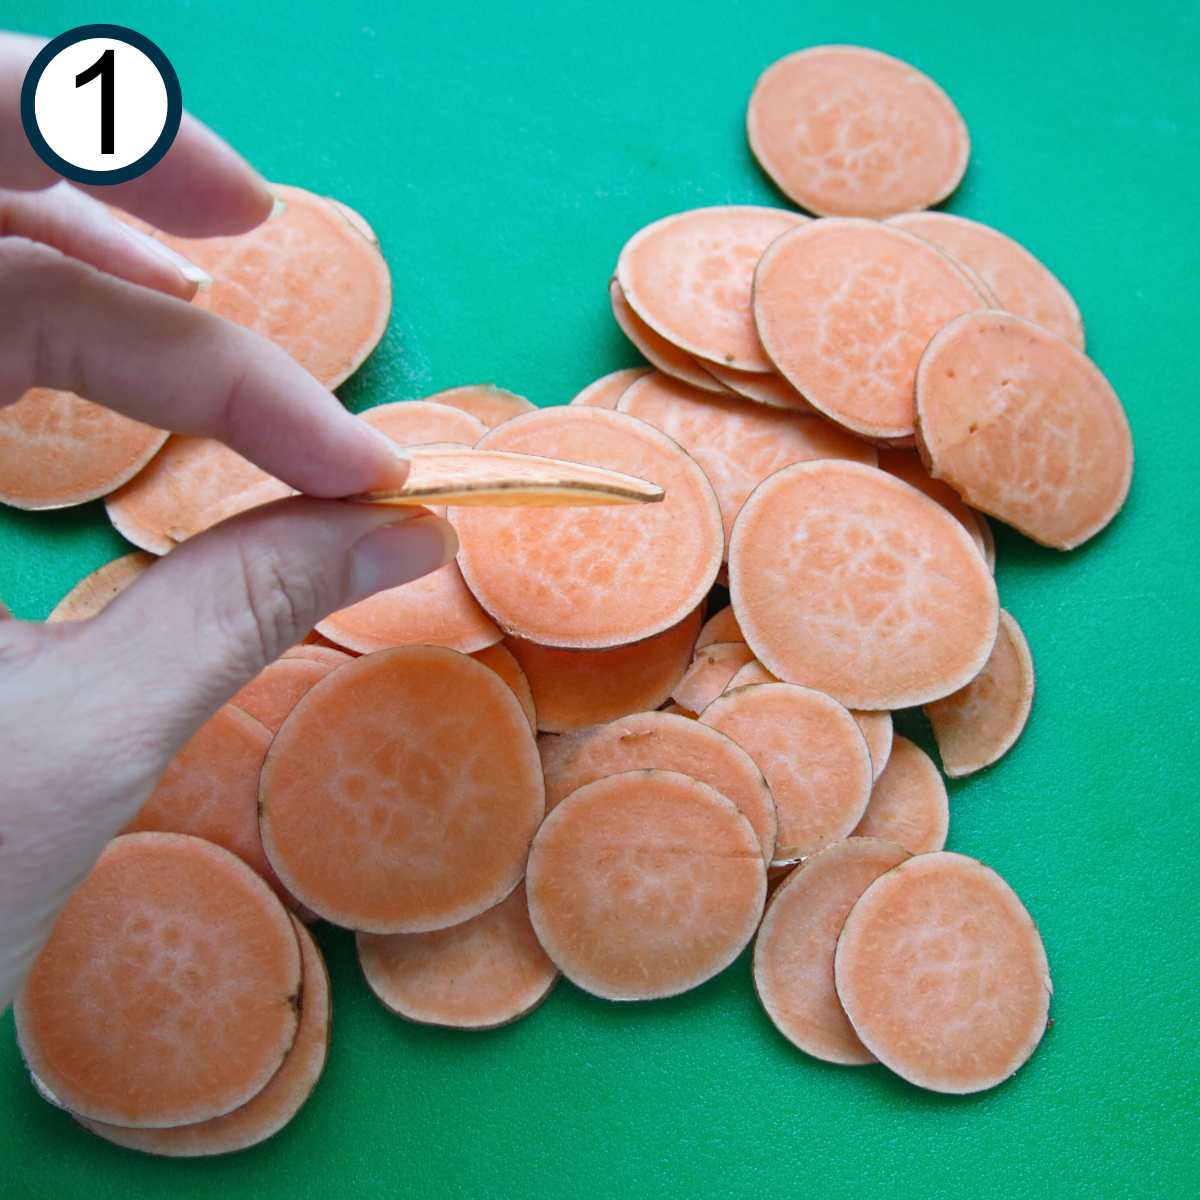
Step 1. Scrub and dry the sweet potatoes, but don't remove the skin. Thinly slice potatoes with a mandoline slicer or sharp knife so they are about ⅛ to 1/16 inch thick. We used "2," which was not the thinnest setting.
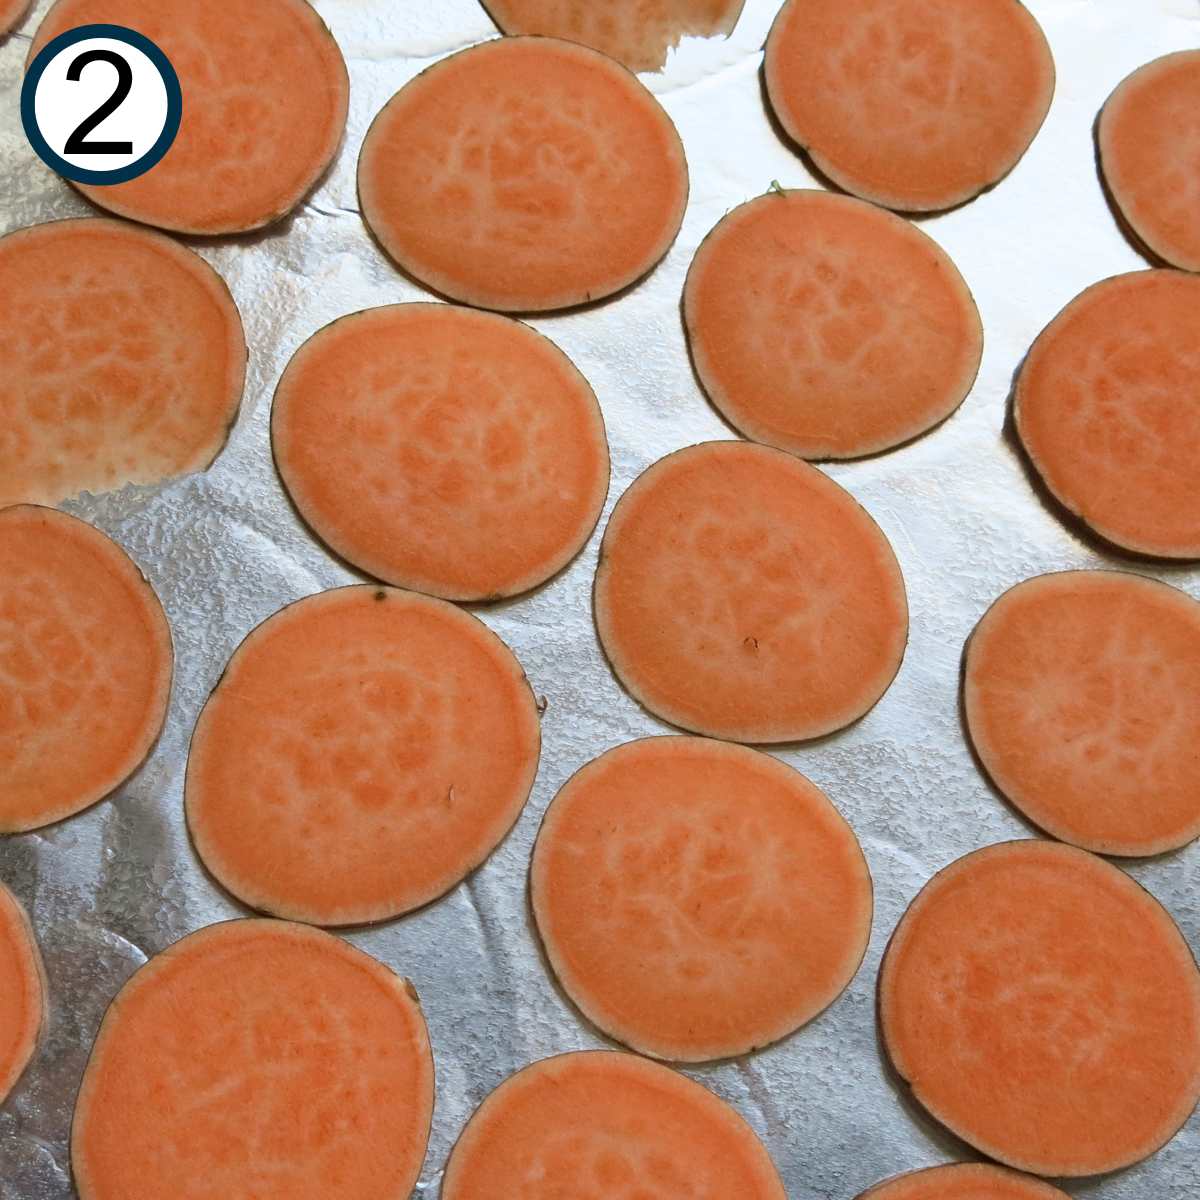
Step 2. Place slices in a single layer on a sheet pan lined with parchment paper or aluminum foil and coated with cooking spray. Use a pastry brush to lightly brush the slices with olive oil. Lightly season with sea salt.
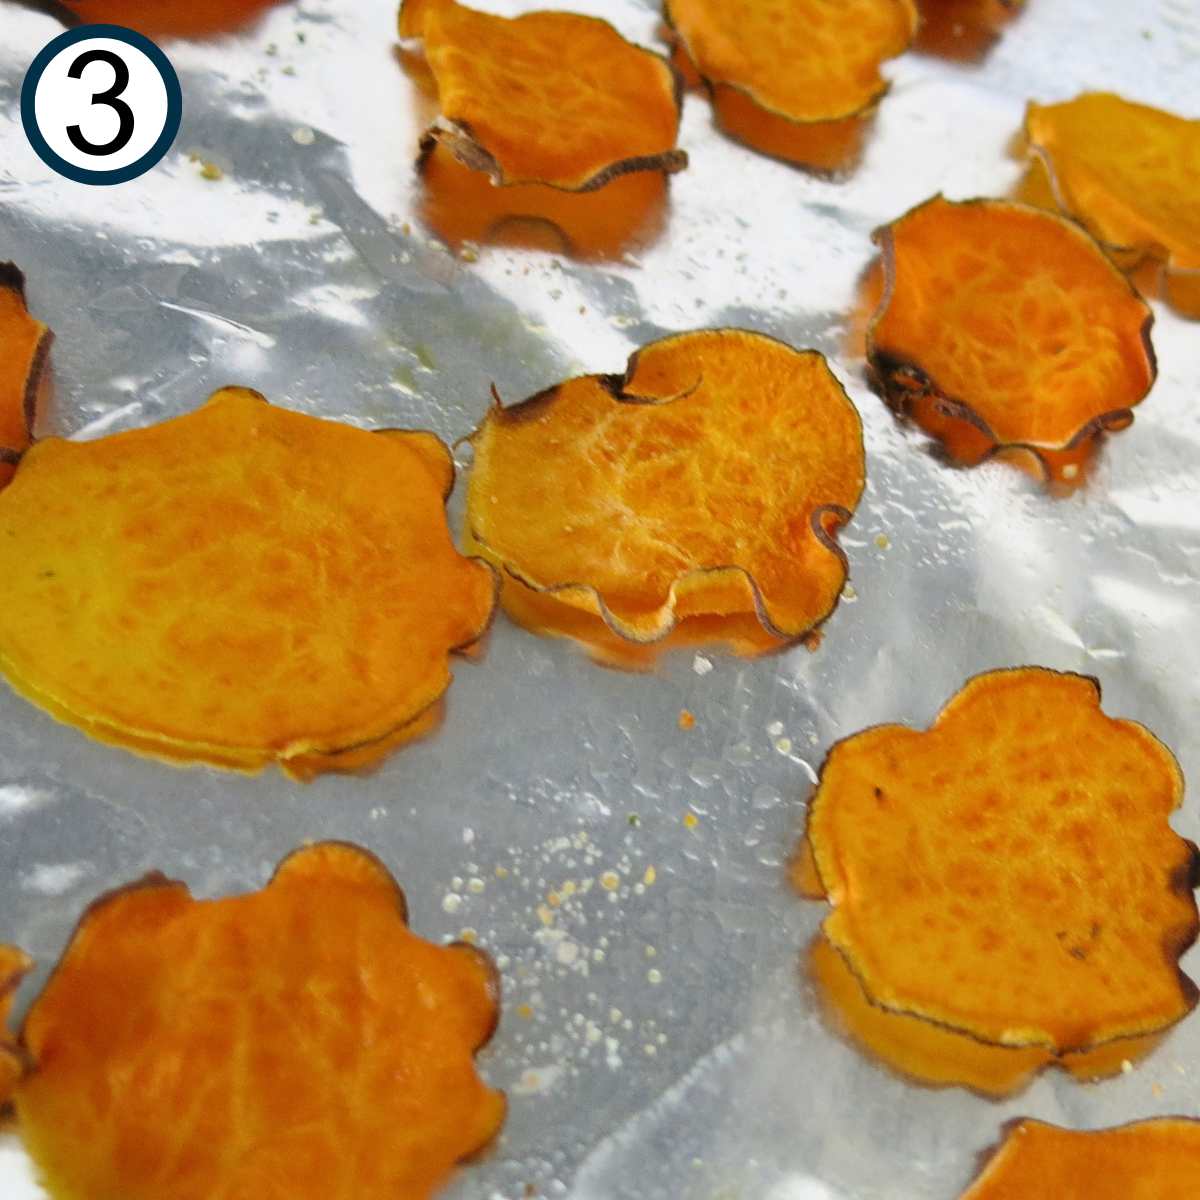
Step 3. Place the pans in the preheated oven. Bake for about 1 ½ hours, flipping the slices at the 1-hour mark and rotating the pans. Check for doneness every 15 minutes after that.
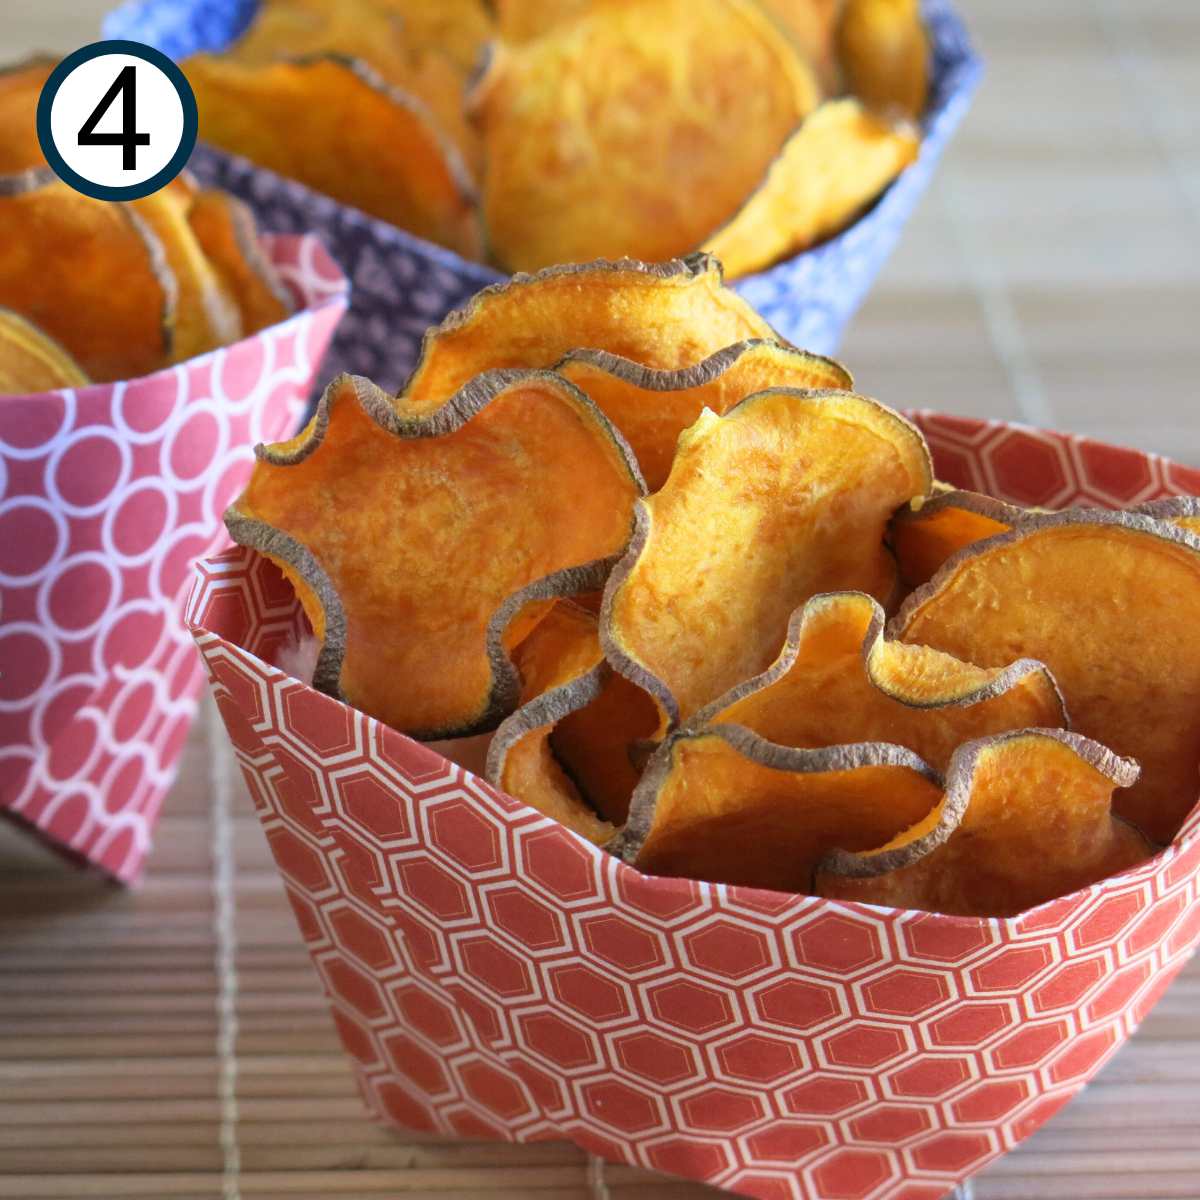
Step 4. Cook until sweet potato chips are crisp, not burnt, with golden brown and lightly curled edges. Place them on a cooling rack. They will continue to crisp as they cool.
Note: The baking time will vary depending on the thickness of the sweet potato slices, the individual oven, and the amount of oil used.
Best Temperature
The best temperature for sweet potato chips is slow and low. We found that 225°F was the sweet spot, and likely mimics what you'd get with a dehydrator. The lower temperature allows the chips to evenly crisp and minimizes the chance of burning. You can also be less vigilant in keeping watch.
That said, you'll find recipes using a high temperature, anywhere from 300°F to 400°F. The key is to watch carefully and remove chips before they brown. It's better to get them out too soon rather than too late.
And the good news is they taste great even if they are a little soft in the center!
Top Tip
Slice the sweet potato into thin slices with a uniform thickness so they cook evenly. Use a mandoline slicer if you have one!
Storage
Store leftover sweet potato chips in an airtight container for several days. They may soften. If they do become soft, revive them by baking them in the oven at a low temperature (around 225°F) for a few minutes until they crisp up again. You can also use the air fryer.

Dipping Sauces
These sweet potato chips are sturdy enough to enjoy with your favorite dip. Our favorites include:
More Homemade Fruit and Veggie Chips
Would you like more easy, healthy, carb-conscious recipes?
📋 Recipe

Baked Sweet Potato Chips Recipe
As an Amazon Associate, I earn from qualifying purchases.
Ingredients
- 2 medium sweet potatoes
- 1 Tablespoon olive oil
- Sea salt
Instructions
- Place oven racks in the middle two levels, right next to each other. Preheat oven to 225°F.
- Wash and dry the sweet potatoes, but don't remove the skin.
- Thinly slice potatoes with a mandoline slicer (setting of 2) or sharp knife so they are about ⅛ to 1/16 inch thick.
- Place slices in a single layer on sheet pans lined with parchment paper or foil and coated with cooking spray. Use a pastry brush to lightly brush the slices with olive oil. Lightly season with sea salt.
- Bake for about 1 ½ hours, flipping the slices at the 1-hour mark and rotating the pans. Check for doneness every 15 minutes after that.
- Cook until sweet potato chips are crisp, not burnt, and lightly curled at the edges. They will continue to crisp as they cool.
Notes
Want to save this recipe?
I'll also send you other recipes I know you'll love. Unsubscribe at any time.
Nutrition

This recipe was originally posted on March 8, 2013, and has been updated to improve the reader experience.


Kathy says
I loved how easy these were to make, not too much prep work! They are the perfect snack for back to school 🙂
Autism United says
Last week I thought I would cheap out on my time of making homemade chips and buying, Costco sells a sweet potato chip that tasted pretty good at the time. Well they really aren't, they are hard and too crunchy and after just a few the flavor takes on an unknown yuck flavor.
Back to homemade.
Love the idea of a bit of cinnamon, that would be interesting.
Thanks for sharing your recipe and tips.
Marjory says
Thanks for reading. You just can't beat homemade and you can control the salt too!
Maureen says
I would never have thought of using cinnamon sugar instead of salt. Love the idea though.
Marjory says
Me too. I guess if you make a little dip with marshmallow you'd have something like a sweet potato souffle!
Pamela says
Sounds yummy. I remember these with cinnamon sugar!
Marjory says
Absolutely! Just sprinkle a little on instead of salt.